Pouring a concrete slab looks simple, but once concrete hits the ground, there’s no reset button. In this guide, we’ll walk you through exactly how to pour a concrete slab—from planning and site prep to finishing and curing—so you get a slab that’s level, durable, and built to last. If you’re also planning to pump your slab, you’ll want to read our guide on concrete pump setup for complex sites and our breakdown on choosing the right concrete mix and pump line size.
Concrete Slab Pour Checklist
Use this checklist to keep your slab pour smooth and avoid the most common mistakes.
| Done | Step | What to Confirm |
|---|---|---|
| ☐ | Plan the slab | Slab size, thickness, load use, drainage slope, and reinforcement plan. |
| ☐ | Mark and excavate | Correct depth for base + concrete, clean edges, stable subgrade. |
| ☐ | Build forms | Square corners, strong bracing, level lines, correct slope. |
| ☐ | Gravel base | 4–6″ compacted in lifts, level base, no soft spots. |
| ☐ | Moisture barrier (if needed) | Poly installed for indoor/heated slabs, seams overlapped and taped. |
| ☐ | Reinforcement | Mesh/rebar placed correctly and lifted off the ground (chairs/spacers). |
| ☐ | Concrete plan | Correct MPa, truck timing, tools ready, finishing crew ready. |
| ☐ | Pour and place | Consistent placement, no segregation, steady pace to avoid cold joints. |
| ☐ | Screed and bull float | Flat surface, low spots filled, no overworking or adding water. |
| ☐ | Finish + joints | Edges clean, control joints spaced correctly, desired finish applied. |
| ☐ | Cure | Start curing ASAP, keep moist, protect from sun/wind, avoid early traffic. |
If you’re deciding what you’re actually building, this comparison can help: Concrete slab vs concrete pad. If your pour is a floor slab (like a basement or interior slab), this guide is also useful: Pouring a concrete floor slab.
Step 1: Plan the Concrete Slab Before You Start
Planning is the most important part of a concrete pour. Before you dig, you want to know: slab size, thickness, what loads it will carry, where water will drain, and what reinforcement you need. If you’re pouring in Ontario conditions, our guide on concrete pouring best practices in Ontario can help you avoid seasonal surprises.
Typical slab thickness guidelines
- Walkways & patios: 100 mm (4″)
- Garage floors: 100–150 mm (4–6″)
- Driveways: 125–150 mm (5–6″)
- Heavy-load slabs: engineered thickness
Step 2: Mark Out and Excavate the Slab Area
Mark the perimeter with stakes at each corner. Run string lines between stakes so you can keep your form boards straight and your elevations consistent. Concrete should not be perfectly flat—use a slight slope so water drains away from structures.
Most slabs need about 250–300 mm (10–12″) total depth, usually made up of: 100–150 mm (4–6″) of compacted gravel base plus 100–150 mm (4–6″) of concrete.
Step 3: Build and Level the Concrete Forms
Your forms decide the slab’s final shape. Weak forms bow out, break, or leave you with an ugly edge that’s hard to fix later. Use straight boards, brace them every 600 mm (2 feet), and add diagonal kickers so nothing moves when concrete hits.
- Cut and place the first long form board, then brace it.
- Add short sides, keep corners square, and brace everything.
- Check level and slope across the whole perimeter.
- Confirm square by measuring corner-to-corner.
Step 4: Prepare and Compact the Gravel Base
A slab is only as good as what’s underneath it. Soft spots and poor compaction lead to settling and cracking. Use clear stone or crushed gravel and compact in layers (lifts) until you reach your target depth.
Quick base rules
- Compact in lifts (don’t dump all the gravel at once).
- Re-check grade after compacting.
- Fix soft spots now—before concrete arrives.
For indoor slabs or heated slabs, install a moisture barrier (poly) on top of the base before reinforcement.
Step 5: Install Reinforcement (If Required)
Concrete cracks. Reinforcement helps control cracks and improves long-term durability, especially for slabs that carry vehicles or heavy loads. Common options include wire mesh, rebar, and fiber (depending on your mix design).
Reinforcement tips
- Use chairs/spacers so rebar sits in the middle of the slab—not on the bottom.
- Overlap mesh properly and tie it so it doesn’t shift during the pour.
- Don’t “kick” reinforcement down into wet concrete as you go—set it correctly before you pour.
Step 6: Choose the Right Concrete Mix
Your concrete strength (MPa) should match the job. Too weak and you risk early wear. Too strong (or wrong admixtures) and finishing can get harder than it needs to be. If you’re pumping the slab, your aggregate size and mix design matter even more. Use this guide: choosing concrete mix and pump line size.
| Common Use | Typical Strength | Notes |
|---|---|---|
| Walkways / patios | 20–25 MPa | Often fine with light reinforcement depending on soil/base. |
| Garage floors | 25–30 MPa | Consider rebar or mesh and good curing for durability. |
| Driveways | 30 MPa | Better for freeze-thaw cycles and vehicle traffic. |
| Heavy-use pads | Engineered | Base, thickness, and reinforcement usually require design input. |
Step 7: Pour and Place the Concrete
Once concrete arrives, speed and consistency matter. You want steady placement to avoid cold joints and weak spots. Spread the concrete evenly and avoid dumping too much in one spot.
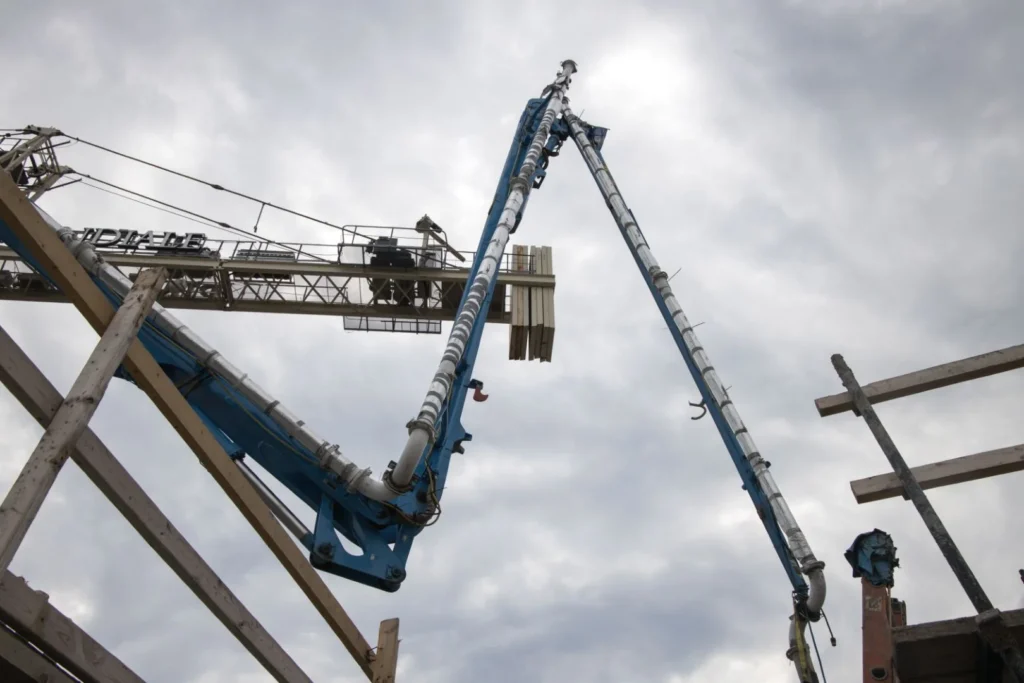
When pumping makes a slab pour easier
If access is tight, the pour area is far from the truck, or you want faster placement, pumping is usually the cleanest option. Learn what to expect on the day-of from our process-focused content and setup guidance: concrete pump setup for complex sites. If you need a line pump solution for residential slabs, basements, or backyards, see: trailer and line pump services.
If you’re building a new home or doing residential flatwork, you can also explore: residential concrete pumping.
Step 8: Screed and Bull Float
Screeding levels the slab. Use a straight 2×4 or screed board and move it in a back-and-forth sawing motion. Fill low spots, remove excess, and keep moving.
Next, bull float to smooth the surface and bring paste up. Then pause. The bleed water needs time to rise and evaporate before final finishing.
A big rule
Don’t overwork the surface. Too much finishing too early can trap water and weaken the top layer, leading to dusting, scaling, and early wear.
Step 9: Final Finishing and Control Joints
Once the surface is thumbprint-hard (you can press in about 6 mm / 1/4″, but not deeper), you can move into finishing. Your finish depends on where the slab is and how it will be used.
Finishing sequence
- Edge the slab so forms release cleanly and corners look sharp.
- Cut control joints to guide cracking (typically 2–3× slab width spacing).
- Mag float to remove minor imperfections and tighten the surface.
- Steel trowel (optional) for a smooth finish where traction isn’t required.
- Broom finish for outdoor slabs that need grip (walkways, patios, exterior pads).
Step 10: Cure the Concrete Slab the Right Way
Curing is where many slabs are won or lost. Concrete doesn’t gain strength just by “drying.” It gains strength through hydration—meaning it needs moisture and temperature control after finishing.
Simple curing options
- Apply a cure-and-seal product using a sprayer or roller (never dump it directly).
- Keep the slab damp for several days (wet burlap, misting, or careful watering).
- Cover with plastic if needed, but manage moisture so you don’t trap puddles on the surface.
- Limit traffic early: foot traffic after 24–48 hours; heavier loads later.
If your slab pour is part of a bigger commercial or industrial sequence, you may also want: ICI concrete pumping or infrastructure concrete pumping depending on the project type.
Common Mistakes That Ruin a Concrete Slab
- Skipping compaction or pouring on a weak base
- Forms that aren’t braced (bowed edges and blowouts)
- Adding water to “make it easier” (weakens concrete)
- Over-finishing while bleed water is still present
- Skipping curing (dusting, surface weakness, and premature cracking)
Need Help Pumping Your Concrete Slab?
If your slab is hard to access, far from the truck, or inside a structure, pumping usually saves time and labor. Explore our equipment and service options here: our concrete pumping equipment, line pump and trailer pump services, and boom pump selector.
If you want us to review your site setup and recommend the right pump approach, reach out here: contact Premier Concrete Pumping. For safety expectations on active job sites, see: health and safety.