Pouring concrete is more than just mixing and dumping a batch into a form. It’s a strategic process that involves preparation, precision, and finishing expertise. Whether you’re tackling a small slab or a large-scale foundation, this guide will walk you through how to pour concrete properly — step by step. Plus, we’ll share how Premier Concrete Pumping supports contractors across Ontario with equipment and on-site assistance to ensure every pour goes smoothly.
Why Proper Concrete Pouring Matters
Concrete is the backbone of modern construction. But if poured incorrectly, even the most well-designed mix can lead to cracks, settling, and structural issues. A great concrete pour starts well before the first batch is mixed — and it doesn’t end until the last joint is sealed.
Step 1: Site Preparation
A successful pour starts with proper prep.
Here’s what that includes:
-
Clearing the site of grass, trees, rocks, and debris
-
Removing old concrete if needed
-
Digging down to the proper depth (typically 4–6 inches for patios and sidewalks; 10–12 inches for load-bearing slabs)
-
Installing a sub-base using crushed stone or gravel
-
Compacting the base to ensure stability
Why it matters: Without proper prep, your slab may settle unevenly or crack prematurely.
Tip: In colder Ontario climates, a well-compacted and drained base helps prevent frost heave.
Step 2: Building and Setting the Forms
Concrete needs a mold — that’s where formwork comes in.
What’s involved:
-
Using wood or metal forms to shape the edges of the slab
-
Securing forms with stakes and screws
-
Ensuring proper slope for drainage (1/4″ per foot away from structures)
-
Double-checking square corners and level tops
Premier Pro Tip: We often advise clients on the best form layout for their slab size and slope requirements, especially on uneven terrain.

Step 3: Reinforcement – Wire Mesh or Rebar
To avoid cracks and improve load-bearing, install steel reinforcement.
Two main options:
-
Wire mesh for slabs under 5” thick
-
Rebar grid for driveways, garages, and structural slabs
Placement matters: Reinforcement should sit in the top third of the slab (not directly on the sub-base).
How Premier Helps: Not sure how much reinforcement you need? Our team can assess the project and guide you on wire mesh spacing or rebar layout.

Step 4: Mixing the Concrete
Depending on your job size, you’ll either:
-
Mix by hand or with a mixer (for small patios)
-
Use a ready-mix concrete truck (for larger projects)
Consistency matters: Aim for a peanut butter–like texture. Too soupy, and the slab will be weak; too dry, and it won’t finish cleanly.
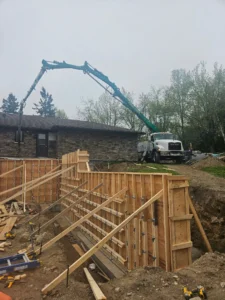
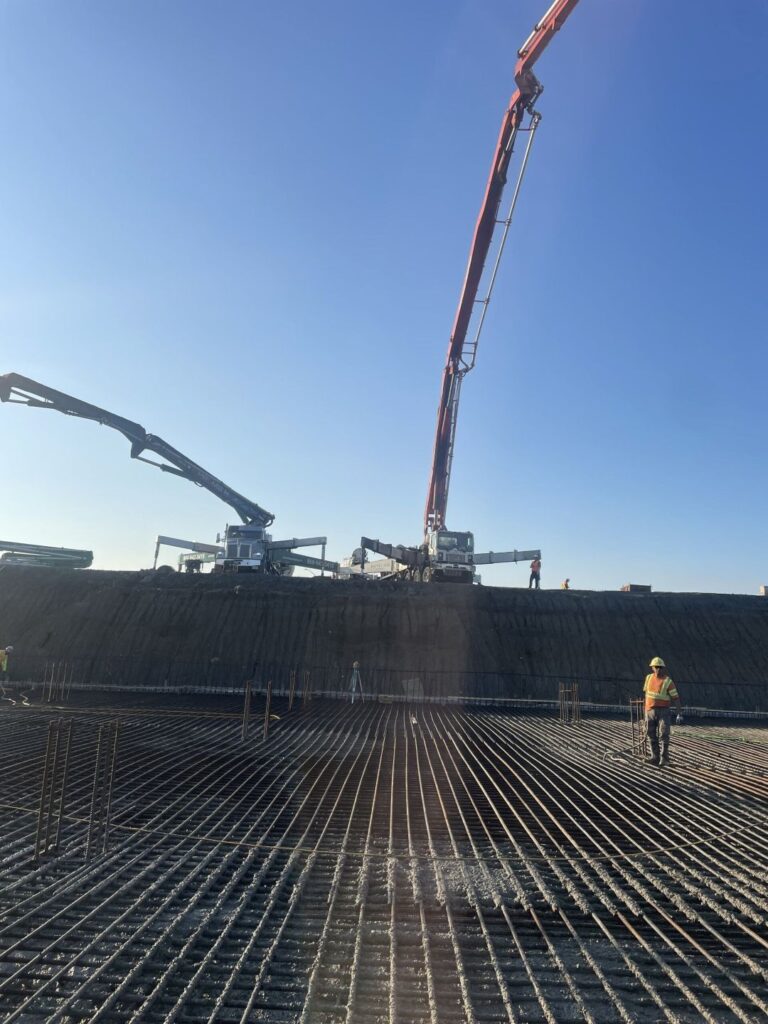
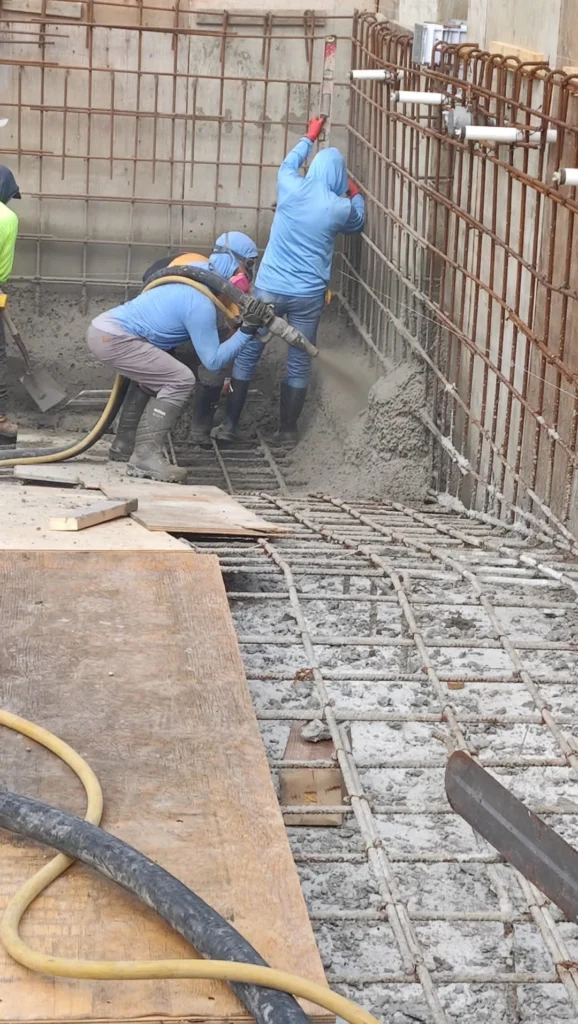
Working with Premier: We pump ready-mix concrete for jobs across Toronto, Hamilton, Vaughan, and beyond — even when the truck can’t get close. Our operators use line pumps and boom pumps to place concrete precisely where you need it.
Step 5: Placing the Concrete
Once the concrete arrives, work fast.
Tools you’ll need:
-
Rakes or “come-alongs” to spread the mix
-
Shovels for edges and corners
-
Vibrators (optional) to remove air pockets
Technique:
-
Pour evenly and continuously to prevent cold joints
-
Fill the forms to the top without overfilling
-
Don’t overwork the concrete — it’ll start to set quickly, especially in warm weather
Premier Advantage: We help contractors control pour speed and placement by coordinating the pump rate to match finishing crew pace.

Step 6: Screeding and Initial Finishing
Screeding means leveling the surface.
Steps:
-
Use a long straightedge or screed board to drag across the top
-
Smooth out humps and fill low spots
-
Bull float the surface to embed aggregates and bring up the paste
This step sets the stage for your final finish.
Need help finishing?
Check out our article on Concrete Finishing Techniques for expert tips on trowel, broom, salt, polished, and decorative finishes.
Step 7: Edging, Jointing, and Final Finish
As the concrete begins to set:
-
Edge the perimeter with an edging tool
-
Cut control joints to reduce cracking (typically 1/4 depth of the slab, spaced 2–3x the slab thickness in feet)
-
Apply the finish (broom, stamp, or smooth trowel)
Tip: For patios, sidewalks, and driveways in Ontario, we recommend broom finishes or exposed aggregate for slip resistance in wet and icy conditions.
Step 8: Curing the Concrete
Concrete gains strength as it cures — not dries.
Do this to cure properly:
-
Spray a curing compound or cover with curing blankets
-
Keep moist for 7 days if possible
-
Avoid heavy use for at least 7 days; full cure takes 28 days
Cold Weather Curing:
If you’re pouring in temperatures under 10°C (50°F), use insulated blankets. Avoid pouring under -7°C (20°F) without special precautions.
Extra Tips from the Field
Here’s what we’ve learned supporting pours across Southern Ontario:
-
Don’t pour on frozen ground
-
Use pumps when the truck can’t get near the forms — we’ve seen jobs ruined trying to wheelbarrow 10m³ of concrete uphill
-
Always compact your base — 80% of slab issues are caused by poor prep
-
Book your equipment in advance, especially in peak season (April to October)
Working with a Professional Concrete Pumping Company
Pouring concrete isn’t just about the mix — it’s about the equipment, timing, and support.
At Premier Concrete Pumping, here’s how we help contractors:
✅ Provide boom and line pumps for hard-to-reach jobs
✅ Help you choose the right equipment for your site conditions
✅ Offer guidance on prep, hose setup, and pour strategy
✅ Coordinate delivery and pump schedule to match crew timing
✅ Operate across all of Southern Ontario — from Toronto to Hamilton, Niagara, and beyond
Want to learn more? Visit our homepage or check out How to Choose the Right Concrete Pump to match your job’s needs.
Articles to Check Out
Final Thoughts
Pouring concrete may seem simple, but it requires planning, precision, and expert handling. By following these steps — and working with trusted pros like Premier — you’ll increase your chances of a smooth pour and a long-lasting slab.
Need help with your next concrete job?
Contact Premier Concrete Pumping to book your pump and get expert support on your next pour.
